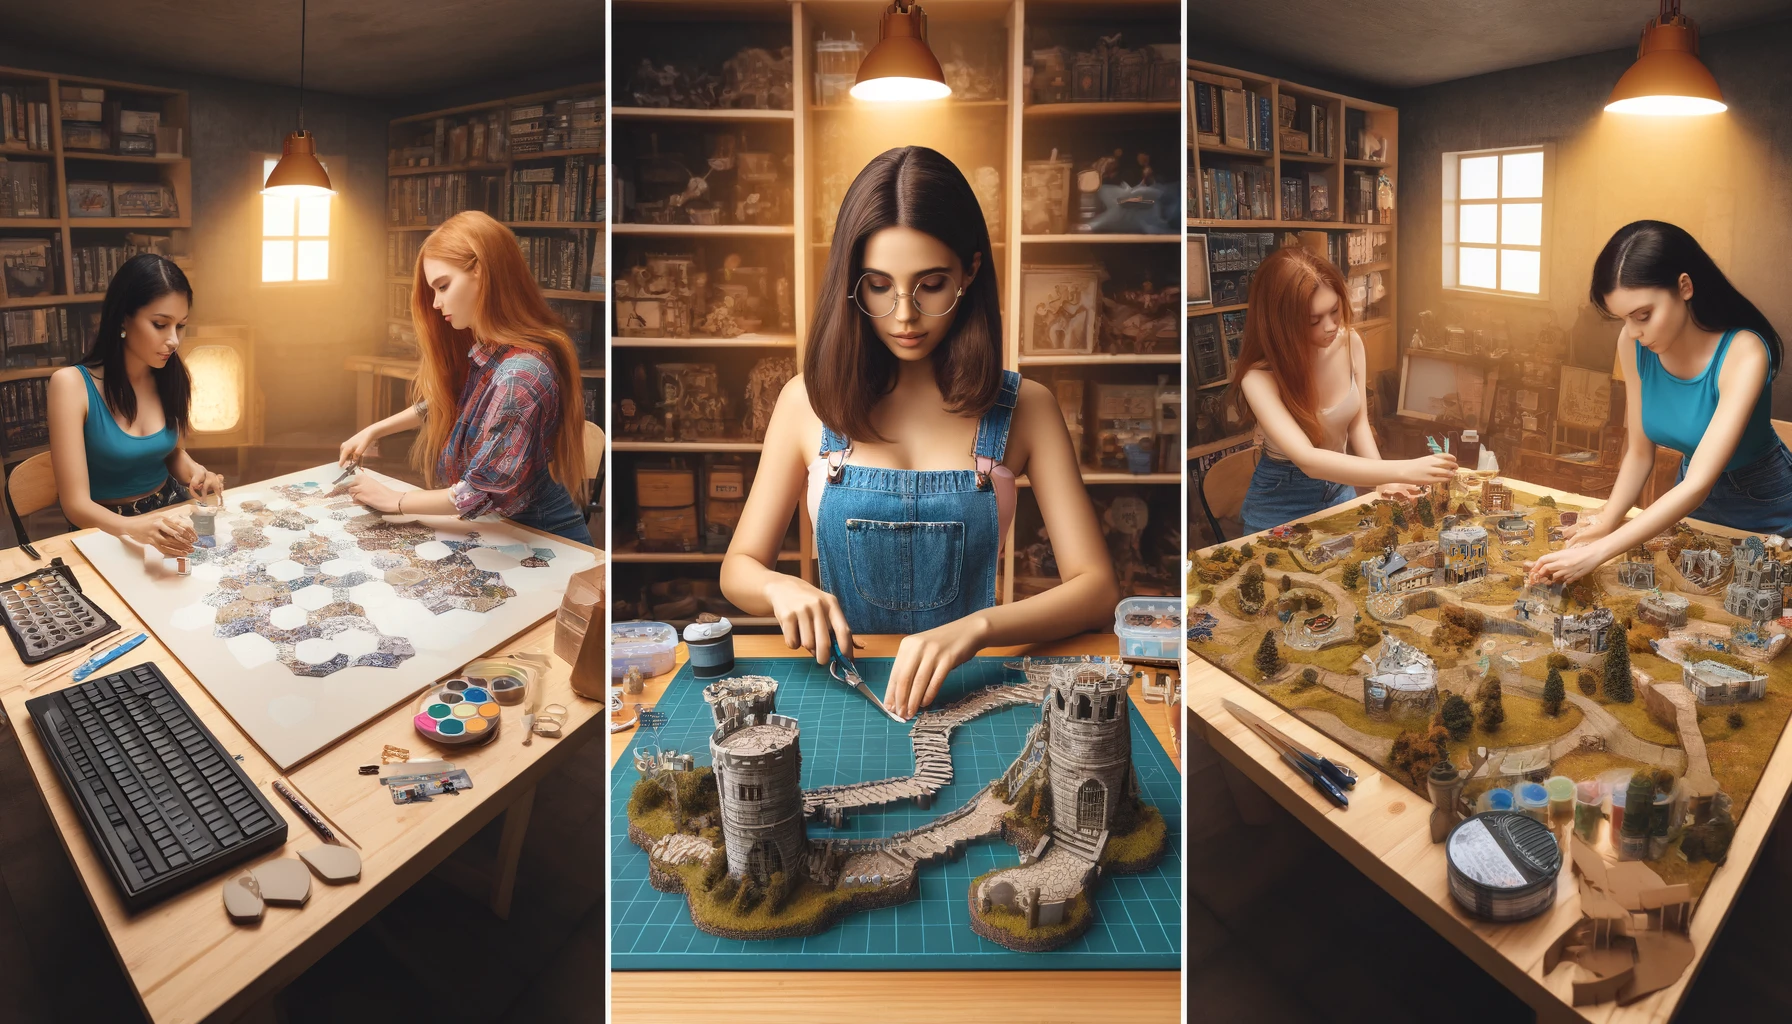
In the realm of tabletop gaming, the environment plays a crucial role in bringing adventures to life. Homemade tabletop terrain tiles have become an essential tool for game masters and players alike, offering a tangible and visually engaging way to enhance gameplay. These handcrafted pieces not only set the stage for epic battles and intricate storytelling but also provide a personalized touch that store-bought options simply cannot match.
Creating your own terrain tiles is a rewarding endeavor that taps into your creativity and crafting skills. Imagine the satisfaction of watching your friends’ faces light up as they interact with the detailed landscapes you’ve painstakingly constructed. Whether it’s a dense forest, a crumbling dungeon, or a bustling town square, your custom tiles will help transport your players directly into the heart of your campaign.
The process of making homemade terrain tiles is both accessible and enjoyable, requiring only a few basic materials and tools. From foam and plaster to paints and brushes, you can source most items from local craft stores or online retailers. With a bit of time and effort, even beginners can produce impressive results that rival professional sets.
This guide will walk you through the entire process, from understanding the benefits of homemade tiles to step-by-step instructions for creating your own. Along the way, we’ll explore advanced techniques and tips for those looking to elevate their crafting skills. Whether you’re a seasoned game master or a newcomer to the hobby, this guide is designed to inspire and assist you in crafting immersive worlds for your tabletop adventures.
Why Use Homemade Terrain Tiles?
Creating your own terrain tiles for tabletop games offers numerous advantages that enhance the gaming experience. From deeper immersion in your campaign’s world to cost savings and the ability to customize every detail, homemade terrain tiles are a fantastic addition to any game master’s toolkit.
Immersion and Storytelling
Detailed terrain tiles can transform a simple tabletop into a vivid, interactive landscape. When players see a beautifully crafted forest, castle, or dungeon, it pulls them deeper into the story. The tactile nature of these tiles, combined with their visual appeal, makes it easier for players to imagine themselves in the game world.
Try my AI Tabletop RPG generators...and an extensive library of content!
For instance, a custom-made village with individual buildings, cobblestone streets, and tiny market stalls can provide endless storytelling opportunities. Players might decide to explore the blacksmith’s shop, investigate strange noises coming from an alley, or participate in a bustling market day. These scenarios become more engaging when players can see and interact with the environment in front of them.
Additionally, custom terrain tiles allow for dynamic storytelling. If the party enters a cave, you can have tiles ready to depict different chambers and passages, adapting the scene as they progress. This flexibility helps keep the game fluid and responsive to the players’ actions, making every session unique and memorable.
Cost-Effectiveness
One of the most appealing aspects of homemade terrain tiles is their cost-effectiveness. High-quality, pre-made terrain sets can be expensive, often putting a strain on a game master’s budget. In contrast, creating your own tiles can be significantly cheaper, especially when you utilize everyday materials like cardboard, foam, and recycled items.
Consider the costs of a commercially available set versus the price of basic crafting supplies. With a bit of ingenuity, you can produce a vast array of tiles for a fraction of the cost of purchasing them. Additionally, the investment in tools and materials pays off over time as you continue to create new pieces for future campaigns.
⚔️ Fantasy RPG Random Tables Books
Make life as a Gamemaster easier…
If you play Dungeons & Dragons, Pathfinder, or other fantasy RPGs, this
RPG random tables series
is packed with encounters, NPCs, treasure, and more. Available in eBook or print—either way, you’ll have a wealth of adventure ideas at your fingertips.
Moreover, crafting your own tiles can be a fun and therapeutic hobby. The process itself—designing, cutting, painting—can be as enjoyable as the gaming sessions they enhance. This added benefit makes the endeavor even more worthwhile.
Customization
One of the greatest strengths of homemade terrain tiles is the ability to tailor them precisely to your campaign’s needs. Unlike store-bought options, which can be generic and limited in variety, custom tiles can reflect the unique aspects of your world.
For example, if your campaign is set in a volcanic landscape, you can create tiles featuring lava flows, rocky crags, and scorched earth. If your adventure takes place in an enchanted forest, you can design tiles with mystical glows, magical plants, and hidden fairy circles. The possibilities are endless, limited only by your imagination and crafting skills.
Customization also extends to the scale and modularity of your tiles. You can design tiles that fit together in various configurations, allowing for different layouts and scenarios each game session. This flexibility ensures that your gaming environment remains fresh and exciting, no matter how many times you use the tiles.
Materials and Tools
To start creating your homemade terrain tiles, you’ll need a selection of materials and tools. The good news is that many of these items are readily available and relatively inexpensive.
Basic Materials
The most commonly used materials for terrain tiles include foam, cardboard, and plaster. Foam, particularly extruded polystyrene foam (commonly known as XPS foam), is popular due to its lightweight, easy-to-cut properties. It’s excellent for creating terrain with depth and texture, such as hills, cliffs, and ruins.
Cardboard is another versatile and readily available material. It’s ideal for flat surfaces and structural elements. You can source it from old boxes or purchase it in sheets. Plaster, on the other hand, is great for casting detailed pieces and adding a solid, durable feel to your terrain.
In addition to these primary materials, you might also use items like sand, gravel, and small stones for texture; moss and lichen for vegetation; and various craft paints for coloring. The key is to experiment and see what works best for your specific projects.
Tools of the Trade
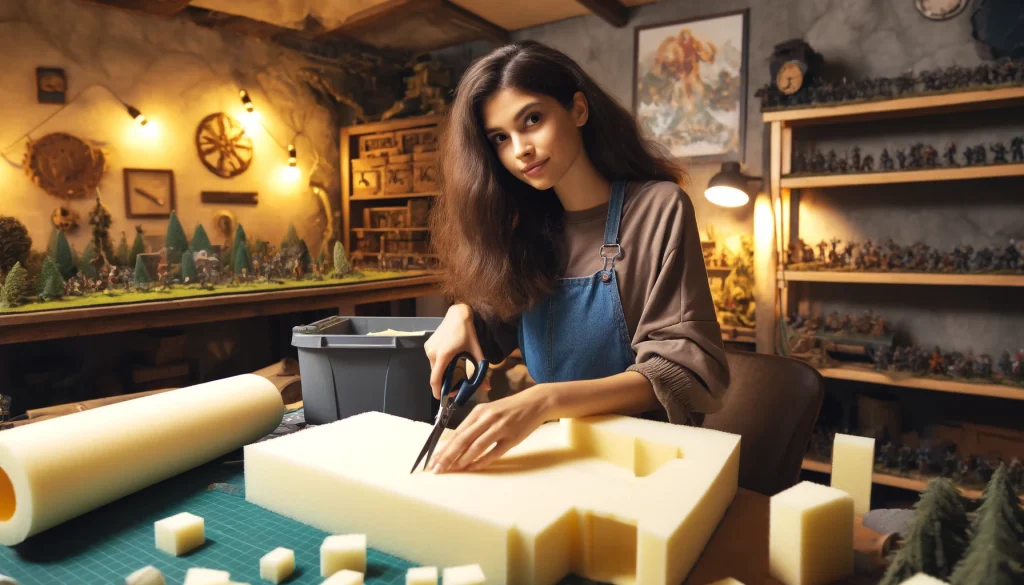
To effectively work with these materials, you’ll need a few essential tools. A sharp craft knife or hobby knife is indispensable for cutting foam and cardboard. For more intricate cuts, a hot wire cutter can be very useful, particularly for foam. This tool allows for precise and smooth cuts, making it easier to shape terrain elements.
You’ll also need a selection of paintbrushes, ranging from broad brushes for base coats to fine brushes for detail work. A good quality adhesive, such as PVA glue or hot glue, is essential for assembling your tiles. For texturing, items like sculpting tools, rolling pins with textured patterns, and even household items like toothbrushes and sponges can be used to create varied surfaces.
Lastly, consider investing in a cutting mat to protect your work surface and a ruler or straight edge for accurate measurements. These tools will help ensure that your tiles are both functional and aesthetically pleasing.
⚔️ Fantasy RPG Random Tables Books
Make life as a Gamemaster easier…
If you play Dungeons & Dragons, Pathfinder, or other fantasy RPGs, this
RPG random tables series
is packed with encounters, NPCs, treasure, and more. Available in eBook or print—either way, you’ll have a wealth of adventure ideas at your fingertips.
Step-by-Step Guide to Making Terrain Tiles
Creating your own terrain tiles can seem daunting at first, but breaking the process down into manageable steps makes it much more approachable. Here’s a basic guide to get you started on crafting your first tile.
Designing Your Tile
The first step is to plan the layout and features of your tile. Consider the environment you want to create—whether it’s a forest, a dungeon, or a town square. Sketch your design on paper, noting the placement of major features like trees, buildings, and paths. This plan will serve as a blueprint as you build your tile.
Measure the dimensions of your tile base, ensuring it fits within your gaming table’s scale. Typically, tiles are made in standard sizes like 6×6 inches or 12×12 inches, but you can adjust this to suit your needs. Once you have your design and measurements, you’re ready to start constructing the base.
Constructing the Base
Begin by cutting your base material to the desired size. If you’re using foam, a sharp craft knife or hot wire cutter works best. For cardboard, a utility knife and a straight edge will do the job. Ensure that the edges are clean and straight, as this will help your tiles fit together seamlessly.
Next, add any structural elements to your base. If your design includes hills or raised areas, cut additional pieces of foam or cardboard and layer them on top of the base. Use glue to secure these pieces, and allow them to dry completely before moving on to the next step.
Adding Texture
Texture brings your terrain to life, making it more realistic and engaging. There are various techniques you can use to add texture, depending on the materials you have and the effect you want to achieve.
For rocky surfaces, crumple aluminum foil and press it into the foam to create a rough, uneven texture. For grass and soil, you can apply a thin layer of PVA glue and sprinkle sand or fine gravel over it. Let the glue dry, then gently shake off any excess material.
If you’re working with plaster, you can use sculpting tools to carve details into the surface. For more advanced textures, consider using molds to create intricate designs like cobblestones or brickwork. Experiment with different methods to see what works best for your project.
Painting and Finishing
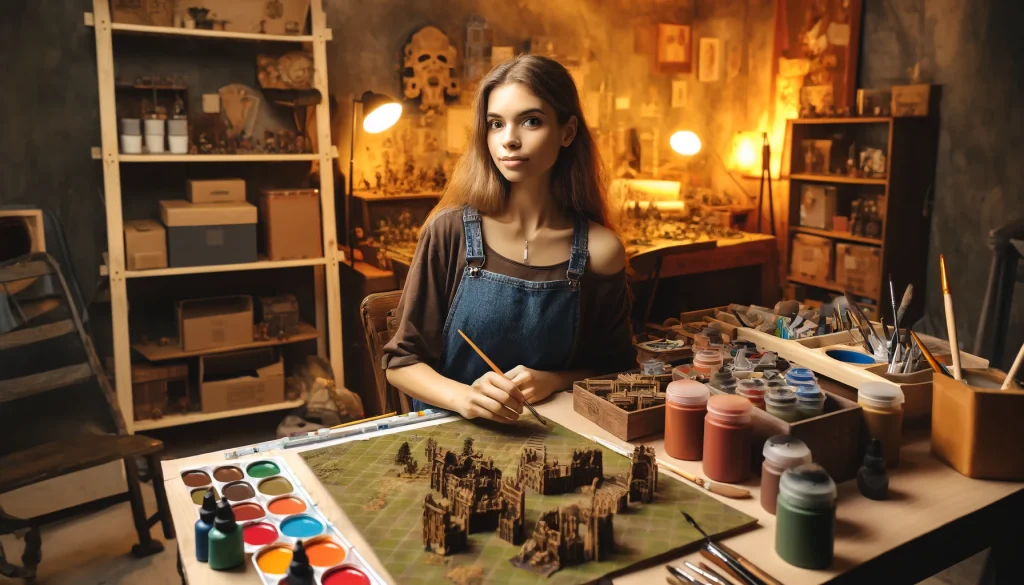
Painting is where your terrain tile really comes to life. Start with a base coat to cover the entire surface. For foam and cardboard, a layer of acrylic paint works well. Choose a neutral color like black or brown as your base.
Once the base coat is dry, apply layers of paint to add depth and detail. Use dry brushing techniques to highlight raised areas and add shadows to recessed parts. For natural elements like grass and trees, vary the shades of green and brown to create a more realistic look.
Finally, add any additional details like tiny plants, rocks, or water effects. Seal your tile with a protective coat of matte varnish to ensure durability. This final step will protect your work from wear and tear during gameplay, allowing you to enjoy your handmade terrain tiles for many sessions to come.
Advanced Techniques and Tips
As you gain confidence and experience with basic terrain tile creation, you might want to explore more complex designs and features. Advanced techniques can take your tiles to the next level, making them even more immersive and versatile.
Complex Designs
Creating multi-level tiles and intricate features requires more planning and skill but can result in stunning pieces. For example, you can design a tile with a cliffside and a hidden cave, complete with removable sections to reveal the cave’s interior. Use foam layers to build the cliff and carve the cave entrance, adding details like rocks and vegetation.
Try my AI Tabletop RPG generators...and an extensive library of content!
Another advanced technique is using molds to cast detailed elements. Silicone molds can be purchased or made at home to create consistent and intricate features like cobblestones, bricks, or tiles. Pour plaster or resin into the molds, let them set, and then paint them to match your terrain.
Sculpting is another way to add unique touches to your tiles. Use sculpting tools and materials like polymer clay to create custom pieces like statues, ruins, or even small creatures. These additions can provide focal points and story elements for your games.
Modular Tiles
Designing modular tiles allows you to create a versatile set of terrain pieces that can be rearranged to form different layouts. Ensure that each tile aligns perfectly with the others, maintaining consistent edge dimensions and patterns.
One approach is to use a grid system where each tile has a specific theme but can connect seamlessly with adjacent tiles. For example, you could create a series of road tiles that connect to various buildings, forests, and rivers, allowing for countless combinations.
Consider adding connectors or magnets to the edges of your tiles to keep them securely in place during gameplay. This ensures that your layout remains stable, even when players move miniatures around the board.
Homemade Terrain Tiles for the Win
Homemade terrain tiles are a freaking great way to enhance the tabletop gaming experience. They offer unparalleled immersion, cost savings, and the joy of creative expression. By following this guide, you’ll be able to craft detailed and customizable tiles that bring your game world to life.
Embrace the creative journey, and don’t be afraid to experiment with different techniques and materials. Each tile you create will improve your skills and add to the richness of your gaming sessions. Whether you’re a novice or an experienced crafter, homemade terrain tiles are a rewarding project that will captivate your players and elevate your campaigns to new heights.

